
I recently worked with a client who needed a user registration workflow. This was a necessary and important but not high-value part of the product, so they wanted it done efficiently. Since they were already developing a marketing website using Webflow, we decided it would be best to add the signup flow there.
We needed the registration flow to connect to our own custom backend server. Software-as-a-service platforms like Memberstack can be integrated to achieve a functional user registration backend, but this client wanted a higher sense of personal control and security. They also wanted to connect the user data to their separate Electron application.
Here are steps you can follow to use Webflow’s custom code sections to direct form submissions to your own backend server.
Set Up the User Interface with Webflow
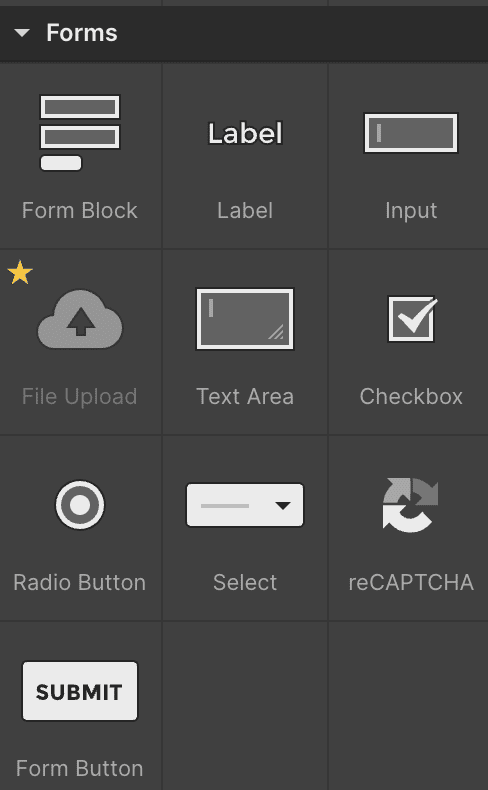
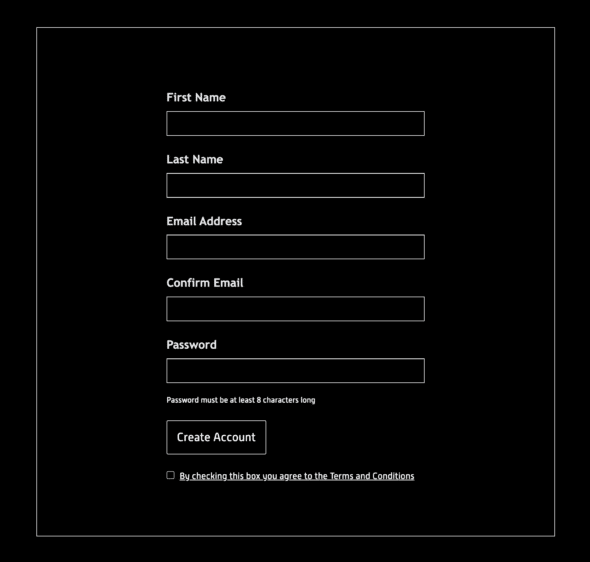
In your Webflow page, play around with Forms and other elements until you have a user interface that you like.
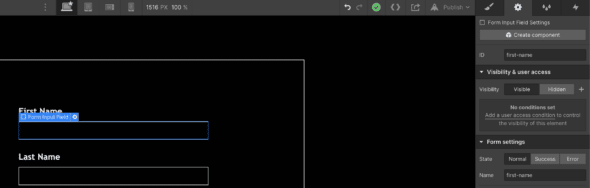
Then, go to the settings for each item you need to include in the body of the data sent to the custom backend. Add in ID and name values for the item.
Add Custom Code
Now that a form is set up in Webflow, it needs instructions on what we want it to do with the data upon submission.
First, navigate to the settings for the page you are working on.

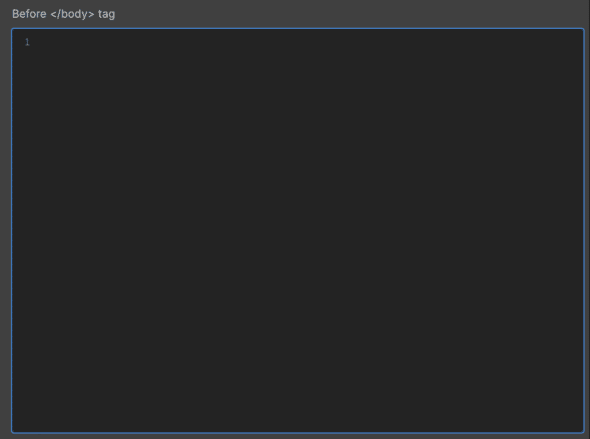
There, you’ll see a “Custom Code” section to expand, which contains editable sections labeled ‘Inside <head> tag’ and ‘Before </body> tag.’ We will be working inside the latter.
Start with script tags and wrap your code in a jQuery function to run only when the document is ready. Override the Webflow event handling to prevent default functionality when the form is submitted.
<script>
$(document).ready(() => {
  // This clears out the built-in Webflow event handling
  $(document).off('submit');
});
</script>
Then, using the name identifiers given above to each form entry field, construct the body of the request.
<script>
$(document).ready(() => {
  // This clears out the built-in Webflow event handling
  $(document).off('submit');

  const body = {
      firstName: $('input[name="first-name"]').val(),
      lastName: $('input[name="last-name"]').val(),
      email: $('input[name="email"]').val(),
      password: $('input[name="password"]').val(),
    };
});
</script>
Finally, make an AJAX request to your custom server, handle the response how you’d like, and navigate to the next page in your registration flow.
<script>
$(document).ready(() => {
  // This clears out the built-in Webflow event handling
  $(document).off('submit');

  const body = {
      firstName: $('input[name="first-name"]').val(),
      lastName: $('input[name="last-name"]').val(),
      email: $('input[name="email"]').val(),
      password: $('input[name="password"]').val(),
    };

  try {
      await $.ajax({
        url: 'https://your-server-url-here',
        type: 'POST',
        data: JSON.stringify(body),
        dataType: 'json',
        contentType: 'application/json; charset=utf-8',
	      //xhrFields withCredentials is necessary for cross origin requests
        xhrFields: {
          withCredentials: true,
        },
      });

      window.location.href = '/nextPage';
    } catch (err) {
      alert('Failed to create new account');
    }
});
</script>
Remember that since this request is coming to your backend from Webflow, it is a cross-origin request.
You can expand the custom code section even further to add in checks to enable/disable the form submission, display error messages, style a spinner to replace the submit button during the request, etc. Adding custom CSS and other elements is just as easy:
<script>
$(document).ready(() => {
  const cssStyles = `
    /* custom styles*/
    .error
    {
      display: none;
    }

    .error-show
    {
      display: block;
      color: red;
      margin-top: 0px;
      margin-bottom: 10px;
    }`;

    $('<style>').prop('type', 'text/css').html(cssStyles).appendTo('head');

    const emailErrorMessage = `<label id="error" class="error">Emails do not match</label>`;
    $('#email-confirm').after(emailErrorMessage);
});
Using Webflow Custom Code
As you edit your custom code in Webflow, track your changes. Webflow custom code sections have no version history to go back to. That makes it wise to keep a version-controlled copy of your custom code sections elsewhere.