
How To Setup A Static Site CMS With Amplify Studio

Amplify studio is a visual development environment for building full-stack web and mobile applications. One of it's most popular features is data modeling. Powered by our managed GraphQL service AppSync, you can create powerful data models with relationships and authorization rules.
Another popular feature offered is Data Management. This feature allows users to update, delete, or create data by viewing data in a tabular view. This is perfect for your technical and non technical team members to update data.
By combining Amplify Studio with Vite and the excellent Vite SSG plugin, we can create a fully functional JAM stack app using Amplify Studio for our backend and Vite with SSG for our front-end.
Want to get started right away? Check out the video below!
Overview
In this tutorial we'll be creating a full-stack static site generated application with Vite-SSG and Amplify! We'll be using AppSync to store our generated data, that will be retrieved during build time and displayed to the user.
We'll be using Vue 3 for our front-end framework.
If you're using React no worries! You can use the same aws-amplify library API functions to retrieve data
Setup
We'll use create-vue to setup a new Vue 3 application. Make sure to select a router, Pinia and TypeScript when prompted!
$ npm init vue@latest
Next change directories to our app!
$ cd vite-ssg-app
Install the Amplify libraries.
$ npm i @aws-amplify/ui-vue aws-amplify
Install vite-ssg
$ npm i vite-ssg -D
Make sure to install Amplify CLI, if it isn't already installed.
If you already have Amplify CLI installed run amplify upgrade so you have the latest version!
$ npm install -g @aws-amplify/cli
If this is the first time running Amplify, run the configure command. This will prompt you to log into the AWS console and setup your AWS credentials. You can always register for an account and get 1 year for free.
$ amplify configure
 ErikCH
Amplify Studio
Amplify Studio is a visual editor for your backend. You can access it via the AWS console by searching for AWS Amplify
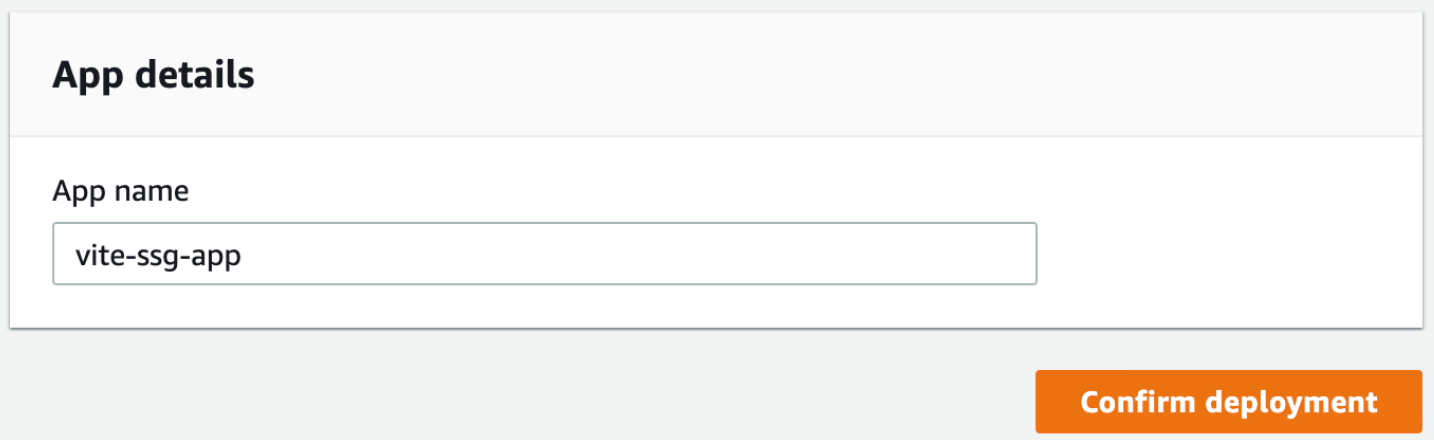
If you've never create an Amplify app in your region, you'll need to click the "Getting Started" button and choose the option for building an app. Otherwise you can click the new app button and enter a name in.
Click Confirm deployment to deploy.
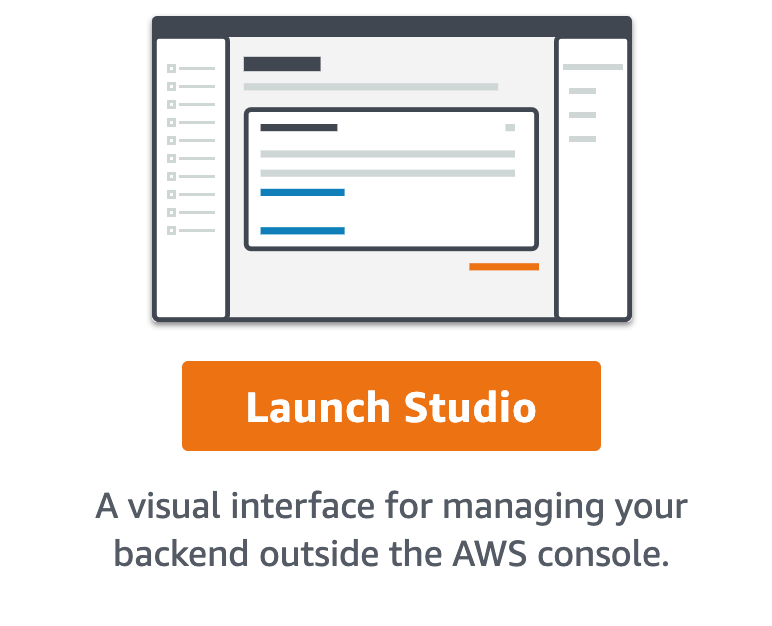
Click on the backend tab and then click Launch Studio to begin!
Did you know that Amplify Studio has a sandbox mode that you can play around on without being logged in? Check it out!
After you are in click on Data tab on the left hand sidebar.
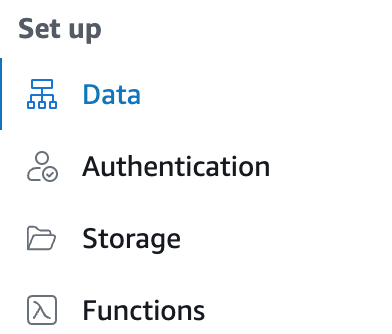
Inside this page you can create a new data model! Data models are backed by our GraphQL managed service AppSync.
Create a new data model for posts. This content will later be pulled into our application.
The slug field represents the URL for each post.
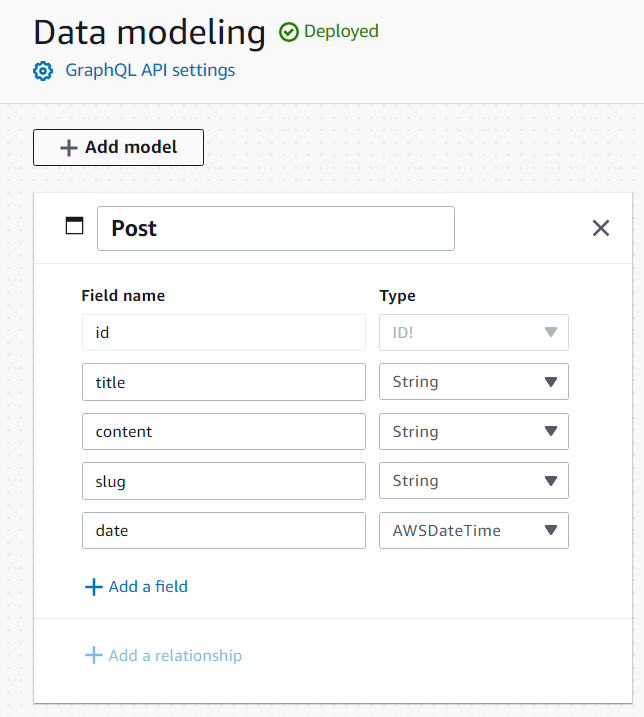
Make sure to deploy when done!
Next, click the Content tab on the left hand side.
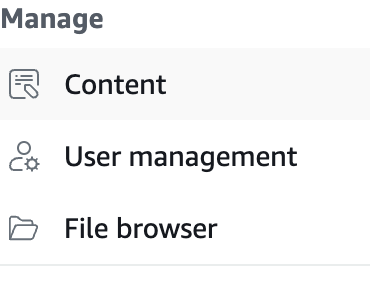
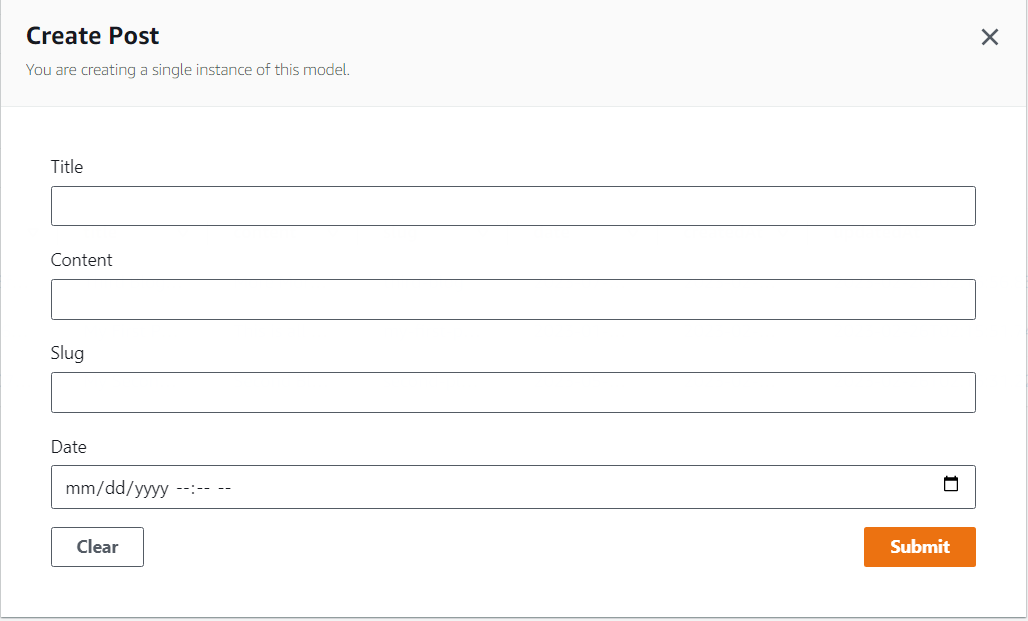
Create a new post!

The content tab handles data management. From here you can see a tabular view of all your data where you can add, edit, delete, or even generate test data if needed.
Go ahead and create a few posts. We'll be using this later.
Pull Data Into App
Now that we've created a data model, and added data to it, we can pull this information into our existing application.
Click on the Local setup instructions link. This should show an amplify pull command. Copy and paste that into your terminal in the root of your application. This will pull the new Amplify project into your application.
There is one last thing we need to do before looking at the code. Since we are using AppSync we'll need to generate all our queries, mutations, and types into our project. Amplify has us covered here with it's codegen utility built into Amplify CLI.
$ amplify codgen add
Run this command and you'll see a couple new folders in your project API and graphql. We'll be using the files generated in these folders later to run queries on our data.
Application Code
In this section we'll jump back int our editor and add the application code.
Vite With Amplify
We'll need to update a couple of files to get Amplify and Vite working together as mentioned in the Amplify troubleshooting guide.
Update the index.html file add add in the following script tag at the bottom of the body tag.
...
  <script>
        window.global = window;
        var exports = {};
  </script>
</body>
Inside the vite.config.ts file add in a new alias for runTimeConfig.
import { fileURLToPath, URL } from "node:url";

import { defineConfig } from "vite";
import vue from "@vitejs/plugin-vue";

// https://vitejs.dev/config/
export default defineConfig({
  plugins: [vue()],
  resolve: {
    alias: {
      "@": fileURLToPath(new URL("./src", import.meta.url)),
      "./runtimeConfig": "./runtimeConfig.browser"
    }
  }
});
Now that we have Amplify with Vite setup, let's dig into the code more.
Pinia
We'll be using Pinia as our default store.
Create a new file inside stores/blog.ts. This will use the ListPostsQuery type that was auto generated when we ran the amplify codegen add command.
import { defineStore } from "pinia";
import type { ListPostsQuery } from "../API";

export const useBlogStore = defineStore("blog", {
  state: () => ({
    posts: {} as ListPostsQuery
  }),
  getters: {
    postPaths: state =>
      state.posts.listPosts?.items.map(post => `/blog/${post?.slug}`)
  }
});
The store is fairly straight forward, we'll be using it to store all our posts, and the URL's for each path with our postPaths getter.
Router Configuration
To get Vite SSG working, we'll need to do some changes to our routes.
Inside the router/index file update the route file to be an array of RouteRecordRaw. This is the preferred type that we'll need to use with Vite SSG, that we'll import into the main.ts file we'll update later.
We'll also add in a couple new routes for /blog and a dynamic route for /blog/:id. The dynamic route will be generated by vite ssg during build time.
import type { RouteRecordRaw } from "vue-router";
import HomeView from "../views/HomeView.vue";

export const router: RouteRecordRaw[] = [
  {
    path: "/",
    name: "home",
    component: HomeView
  },
  {
    path: "/about",
    name: "about",
    // route level code-splitting
    // this generates a separate chunk (About.[hash].js) for this route
    // which is lazy-loaded when the route is visited.
    component: () => import("../views/AboutView.vue")
  },
  {
    path: "/blog/",
    name: "blog",
    component: () => import("../views/Blog.vue")
  },
  {
    path: "/blog/:id",
    name: "post",
    component: () => import("../views/Post.vue")
  }
];
Package Updates
We'll want to run a command to create all the routes. Add this new package.json command.
// package.json
{
  "scripts": {
    "dev": "vite",
    "build": "vite-ssg build"

  }
}
Vue Routes
As you may have noticed we created a few new Vue files. Let's create those now.
We'll start with Blog.vue. For the sake of this tutorial, we'll keep it fairly straight forward.
<template>
  <h1>Blog</h1>
</template>
The Post.vue will look into the store and grab the post that corresponds to the route the user is on. It will then display that content for that route.
<script setup lang="ts">
import { useBlogStore } from "../stores/blog";
import { useRoute } from "vue-router";
import { storeToRefs } from "pinia";
const route = useRoute();
const store = useBlogStore();
const { posts } = storeToRefs(store);
const content = posts.value.listPosts?.items.find(
  v => v?.slug === `${route.params.id}`
);
</script>

<template>
  <h1>{{ content?.title }}</h1>
  <div>
    <p>{{ content?.content }}</p>
  </div>
  <div style="color: gray">{{ content?.date }}</div>
</template>
The HomeView will list all the paths that are available by pulling it from the store from the getter we created earlier.
<script setup lang="ts">
import { useBlogStore } from "@/stores/blog";
import { storeToRefs } from "pinia";
const store = useBlogStore();
const { postPaths } = storeToRefs(store);
</script>

<template>
  <div v-for="(path, idx) in postPaths" :key="idx">
    <router-link :to="`${path!}`">{{ path }}</router-link>
  </div>
</template>
Finally, we'll make sure our App.vue file looks correct. It will have a link back to the homepage in it.
<script setup lang="ts">
import { RouterLink, RouterView } from "vue-router";
</script>

<template>
  <h1><router-link to="/">Home</router-link></h1>
  <RouterView />
</template>
Main File Setup
The main logic to setup Vite SSG is in our main.ts file. There are two main areas we want to focus on: saving data into the store during build time and generating the dynamic routes.
Save Data With initialState
Vite SSG gives us initialState. This variable can save data during build time, and then can be accessed during runtime. This is important so we can load data from external resources when the app is building, like Amplify AppSync, than have it be available when the app loads to be set into the Pinia store.
After the data is available in the Pinia store it can be shared throughout the application, without having to make any further backend calls.
The advantage of this approach is that it's quicker to load, since all data is saved in memory in the store. On the other hand, the data will only update when the app builds again.
The bundle size will also be reduced since we don't need the libraries that retrieved the data during run time, only as development dependencies.
In practice, let's take a look at how this might work.
if (import.meta.env.SSR) {
      const { data } = await API.graphql<GraphQLQuery<ListPostsQuery>>({
        query: queries.listPosts
      });
      initialState.data = data;
    } else {
      // Restore or read the initial state on the client side in the browser
      const store = useBlogStore();
      store.posts = initialState.data || {};
    }
In this example we'll check if the user is in SSR or build mode. We'll then make a call to the API graphql backend with a list of queries. The values returned will then be saved into initialState.
If this snippet is running during run time, then it will retrieve the data from initialState and save it into the store.
Let's update the main.ts file. We'll use the new export const createApp with ViteSSG. This will create a new Vue 3 application and allow us to statically generate it.
With ViteSSG we'll also get access to the app, router and initialState.
import { ViteSSG } from "vite-ssg";
import { createPinia } from "pinia";

import App from "./App.vue";
import { router } from "./router";

import "./assets/main.css";
import type { RouteRecordRaw } from "vue-router";

import { Amplify } from "aws-amplify";
import aws_exports from "./aws-exports";

import { API } from "aws-amplify";
import * as queries from "./graphql/queries";
import type { ListPostsQuery } from "./API";
import type { GraphQLQuery } from "@aws-amplify/api";
import { useBlogStore } from "./stores/blog";

export const createApp = ViteSSG(
  App,
  { routes: router },
  async ({ app, router, initialState }) => {
    const pinia = createPinia();
    app.use(pinia);
    Amplify.configure(aws_exports);

    if (import.meta.env.SSR) {
      const { data } = await API.graphql<GraphQLQuery<ListPostsQuery>>({
        query: queries.listPosts
      });
      initialState.data = data;
    } else {
      // Restore or read the initial state on the client side in the browser
      const store = useBlogStore();
      store.posts = initialState.data || {};
    }
  }
);
Generate Dynamic Routes
Inside the same main.ts file we'll add in a new function called includedRoutes under the createApp. This function can be used to dynamically generate all the static routes we need.
We'll use our API.graphql function to retrieve the posts from the backend and we'll dynamically generate all the routes
export async function includedRoutes(
  paths: string[],
  routes: RouteRecordRaw[]
) {
  // runs during build time
  try {
    const { data } = await API.graphql<GraphQLQuery<ListPostsQuery>>({
      query: queries.listPosts
    });
    const items = data?.listPosts?.items.map(item => `/blog/${item?.slug}`);
    return (
      await Promise.all(
        routes.map(async route => {
          return route.name === "blog" ? items : route.path;
        })
      )
    ).flat();
  } catch (error) {
    console.log("error", error);
  }
}
Testing it Out
Now that we have everything in place. We can run our new build command.
$ npm run build
This will build out all the dynamic routes, and pull the information from the backend. We can use a tool like http-server to test it.
$ cd dist && http-server .
Congrats you did it!
Having problems? Tweet me at ErikCH on Twitter with any questions or leave a comment
Conclusion
In this tutorial we created a fully static application that pulls data from AppSync using Amplify.
If you got this far, please let me know! Tweet me at ErikCH! I'd love to hear your feedback.