How To Make A Speech Synthesis Editor

Email Newsletter
Weekly tips on front-end & UX.
Trusted by 200,000+ folks.

 Flexible CMS. Headless & API 1st


 Register!
When Steve Jobs unveiled the Macintosh in 1984, it said “Hello” to us from the stage. Even at that point, speech synthesis wasn’t really a new technology: Bell Labs developed the vocoder as early as in the late 30s, and the concept of a voice assistant computer made it into people’s awareness when Stanley Kubrick made the vocoder the voice of HAL9000 in 2001: A Space Odyssey (1968).
It wasn’t before the introduction of Apple’s Siri, Amazon Echo, and Google Assistant in the mid 2015s that voice interfaces actually found their way into a broader public’s homes, wrists, and pockets. We’re still in an adoption phase, but it seems that these voice assistants are here to stay.
In other words, the web isn’t just passive text on a screen anymore. Web editors and UX designers have to get accustomed to making content and services that should be spoken out loud.
We’re already moving fast towards using content management systems that let us work with our content headlessly and through APIs. The final piece is to make editorial interfaces that make it easier to tailor content for voice. So let’s do just that!
What Is SSML
While web browsers use W3C’s specification for HyperText Markup Language (HTML) to visually render documents, most voice assistants use Speech Synthesis Markup Language (SSML) when generating speech.
A minimal example using the root element <speak>, and the paragraph (<p>) and sentence (<s>) tags:
<speak>
  <p>
    <s>This is the first sentence of the paragraph.</s>
    <s>Here’s another sentence.</s>
  </p>
</speak>
Where SSML gets existing is when we introduce tags for <emphasis> and <prosody> (pitch):
<speak>
  <p>
    <s>Put some <emphasis strength="strong">extra weight on these words</emphasis></s>
    <s>And say <prosody pitch="high" rate="fast">this a bit higher and faster</prosody>!</s>
  </p>
</speak>
SSML has more features, but this is enough to get a feel for the basics. Now, let’s take a closer look at the editor that we will use to make the speech synthesis editing interface.
The Editor For Portable Text
To make this editor, we’ll use the editor for Portable Text that features in Sanity.io. Portable Text is a JSON specification for rich text editing, that can be serialized into any markup language, such as SSML. This means you can easily use the same text snippet in multiple places using different markup languages.
Installing Sanity
Sanity.io is a platform for structured content that comes with an open-source editing environment built with React.js. It takes two minutes to get it all up and running.
Type npm i -g @sanity/cli && sanity init into your terminal, and follow the instructions. Choose “empty”, when you’re prompted for a project template.
If you don’t want to follow this tutorial and make this editor from scratch, you can also clone this tutorial’s code and follow the instructions in README.md.
When the editor is downloaded, you run sanity start in the project folder to start it up. It will start a development server that use Hot Module Reloading to update changes as you edit its files.
How To Configure Schemas In Sanity Studio
Creating The Editor Files
We’ll start by making a folder called ssml-editor in the /schemas folder. In that folder, we’ll put some empty files:
/ssml-tutorial/schemas/ssml-editor
                        ├── alias.js
                        ├── emphasis.js
                        ├── annotations.js
                        ├── preview.js
                        ├── prosody.js
                        ├── sayAs.js
                        ├── blocksToSSML.js
                        ├── speech.js
                        ├── SSMLeditor.css
                        └── SSMLeditor.js
Now we can add content schemas in these files. Content schemas are what defines the data structure for the rich text, and what Sanity Studio uses to generate the editorial interface. They are simple JavaScript objects that mostly require just a name and a type.
We can also add a title and a description to make a bit nicer for editors. For example, this is a schema for a simple text field for a title:
export default {
  name: 'title',
  type: 'string',
  title: 'Title',
  description: 'Titles should be short and descriptive'
}
Portable Text is built on the idea of rich text as data. This is powerful because it lets you query your rich text, and convert it into pretty much any markup you want.
It is an array of objects called “blocks” which you can think of as the “paragraphs”. In a block, there is an array of children spans. Each block can have a style and a set of mark definitions, which describe data structures distributed on the children spans.
Sanity.io comes with an editor that can read and write to Portable Text, and is activated by placing the block type inside an array field, like this:
// speech.js
export default {
  name: 'speech',
  type: 'array',
  title: 'SSML Editor',
  of: [
    { type: 'block' }
  ]
}
An array can be of multiple types. For an SSML-editor, those could be blocks for audio files, but that falls outside of the scope of this tutorial.
The last thing we want to do is to add a content type where this editor can be used. Most assistants use a simple content model of “intents” and “fulfillments”:
- Intents
Usually a list of strings used by the AI model to delineate what the user wants to get done. - Fulfillments
This happens when an “intent” is identified. A fulfillment often is — or at least — comes with some sort of response.
So let’s make a simple content type called fulfillment that use the speech synthesis editor. Make a new file called fulfillment.js and save it in the /schema folder:
// fulfillment.js
export default {
  name: 'fulfillment',
  type: 'document',
  title: 'Fulfillment',
  of: [
    {
      name: 'title',
      type: 'string',
      title: 'Title',
      description: 'Titles should be short and descriptive'
    },
    {
      name: 'response',
      type: 'speech'
    }
  ]
}
Save the file, and open schema.js. Add it to your studio like this:
// schema.js
import createSchema from 'part:@sanity/base/schema-creator'
import schemaTypes from 'all:part:@sanity/base/schema-type'
import fullfillment from './fullfillment'
import speech from './speech'

export default createSchema({
  name: 'default',
  types: schemaTypes.concat([
    fullfillment,
    speech,
  ])
})
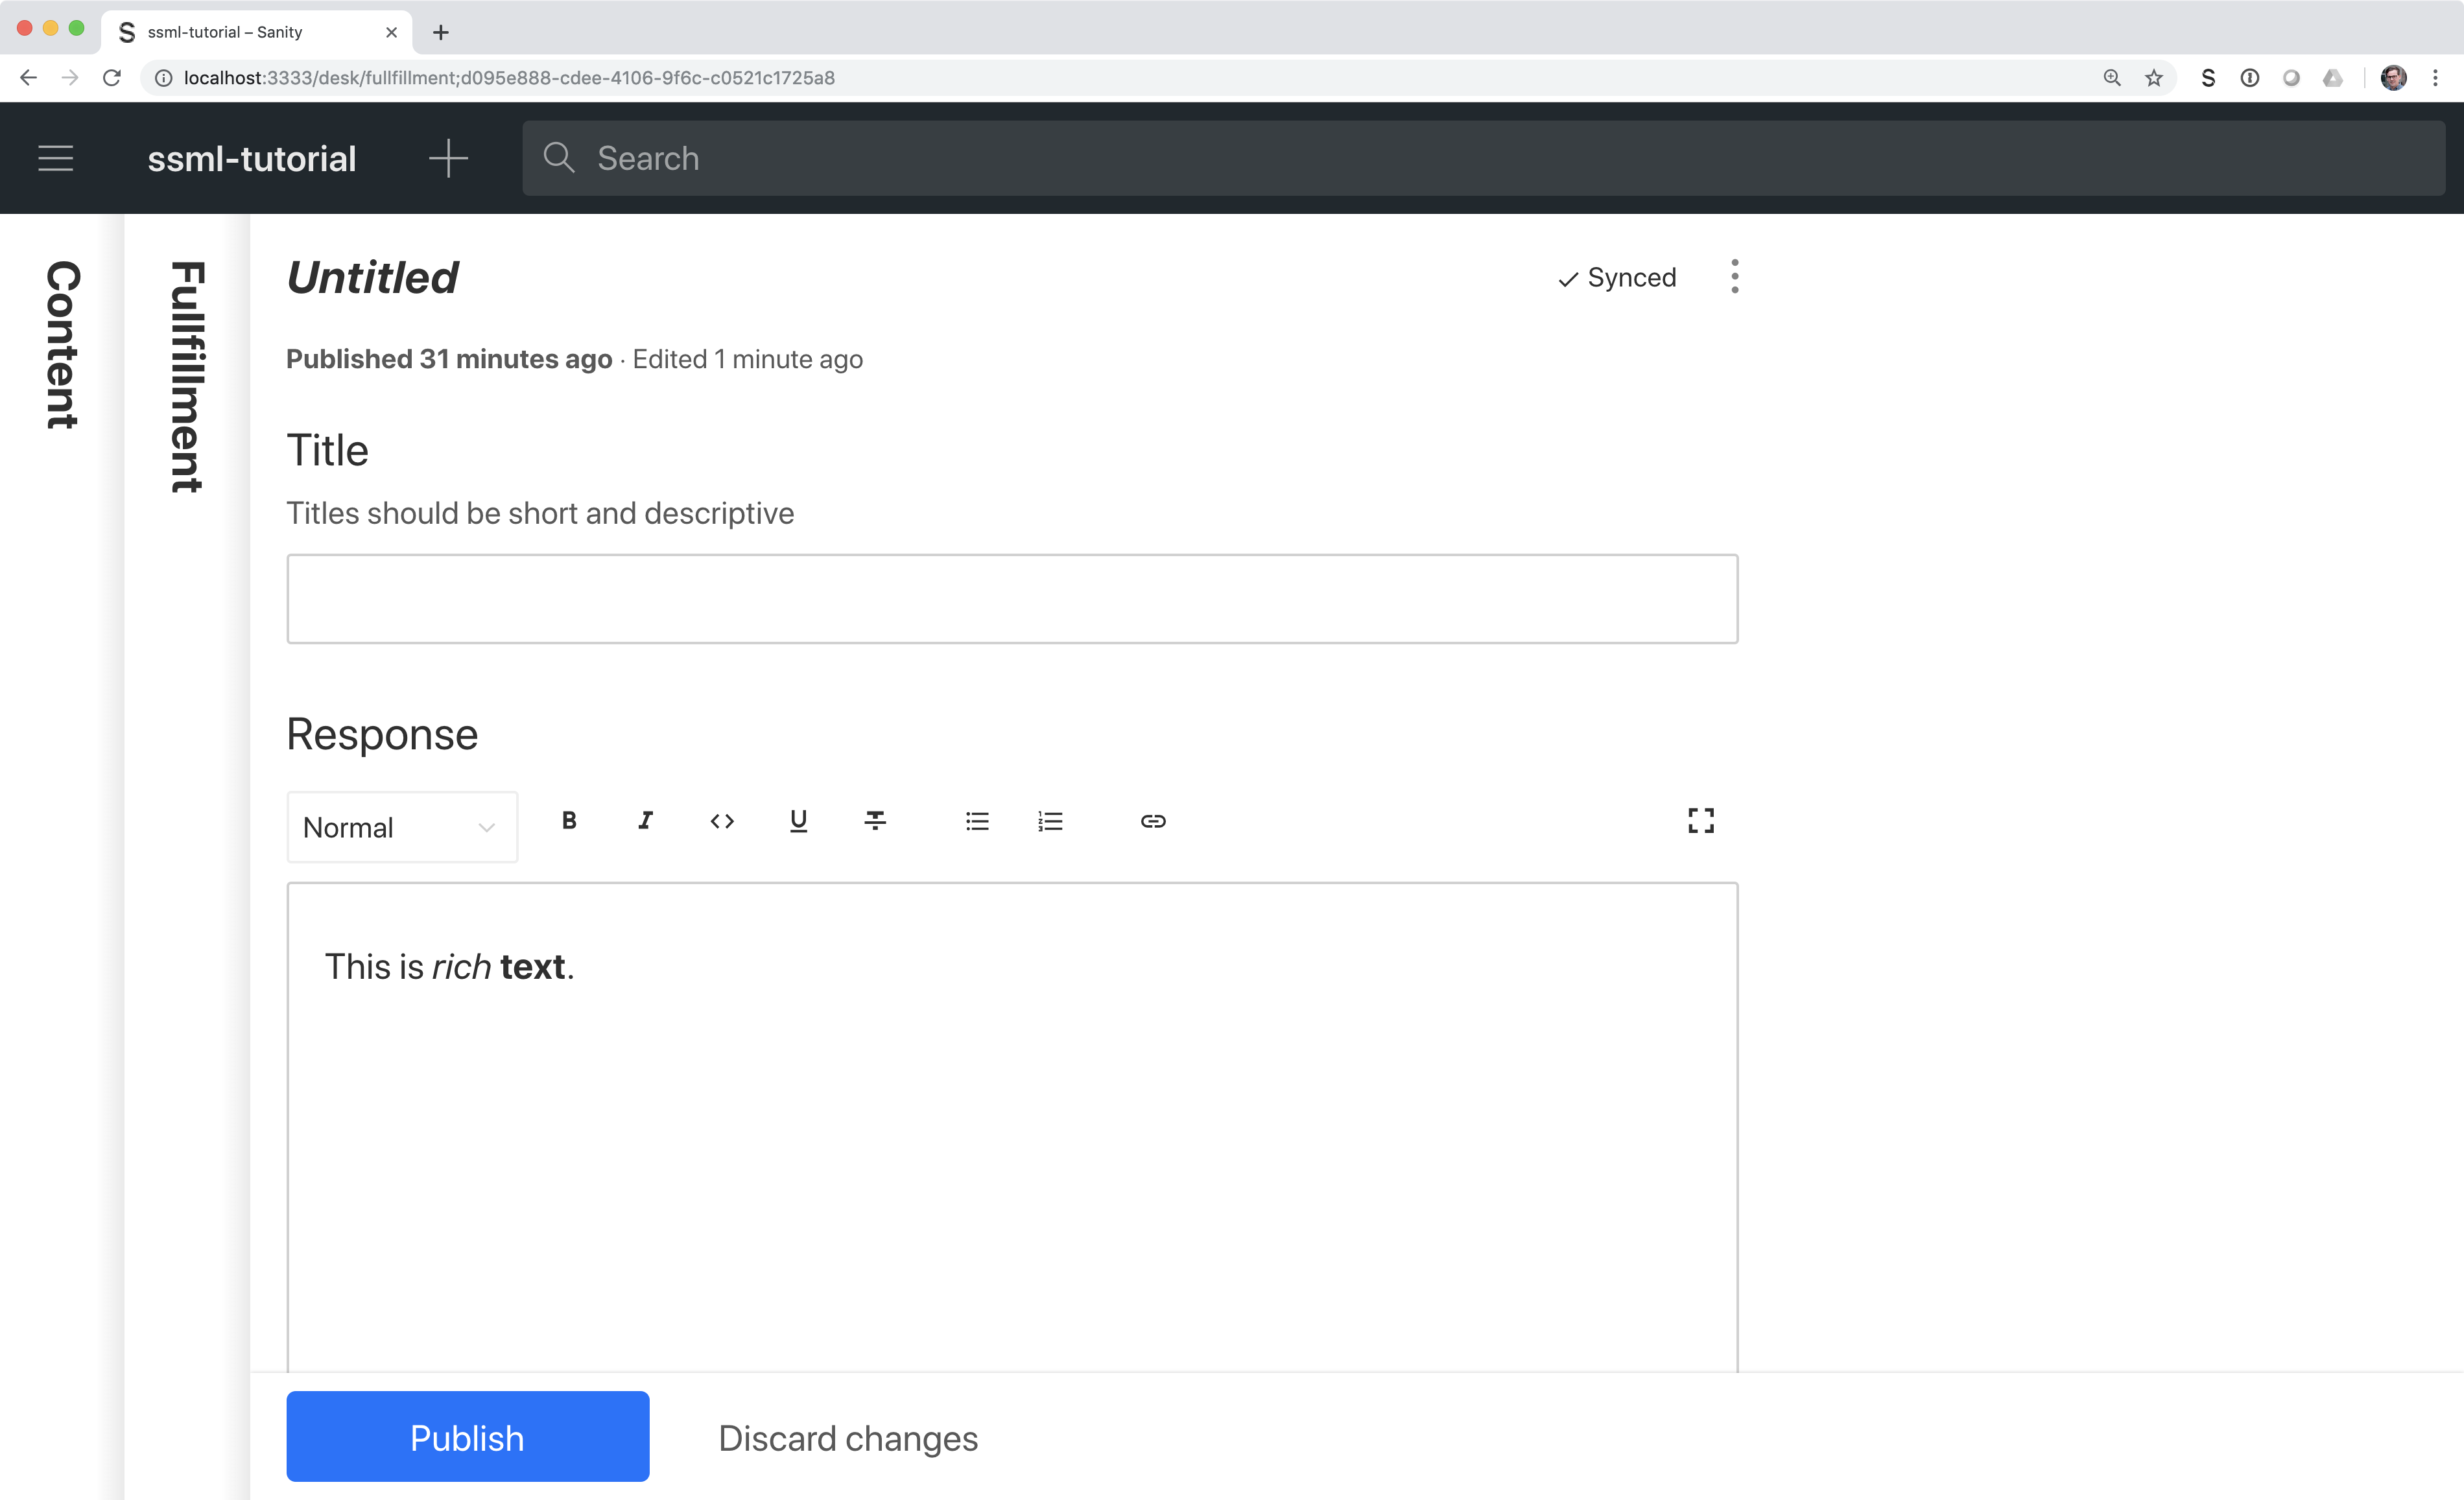
If you now run sanity start in your command line interface within the project’s root folder, the studio will start up locally, and you’ll be able to add entries for fulfillments. You can keep the studio running while we go on, as it will auto-reload with new changes when you save the files.
Adding SSML To The Editor
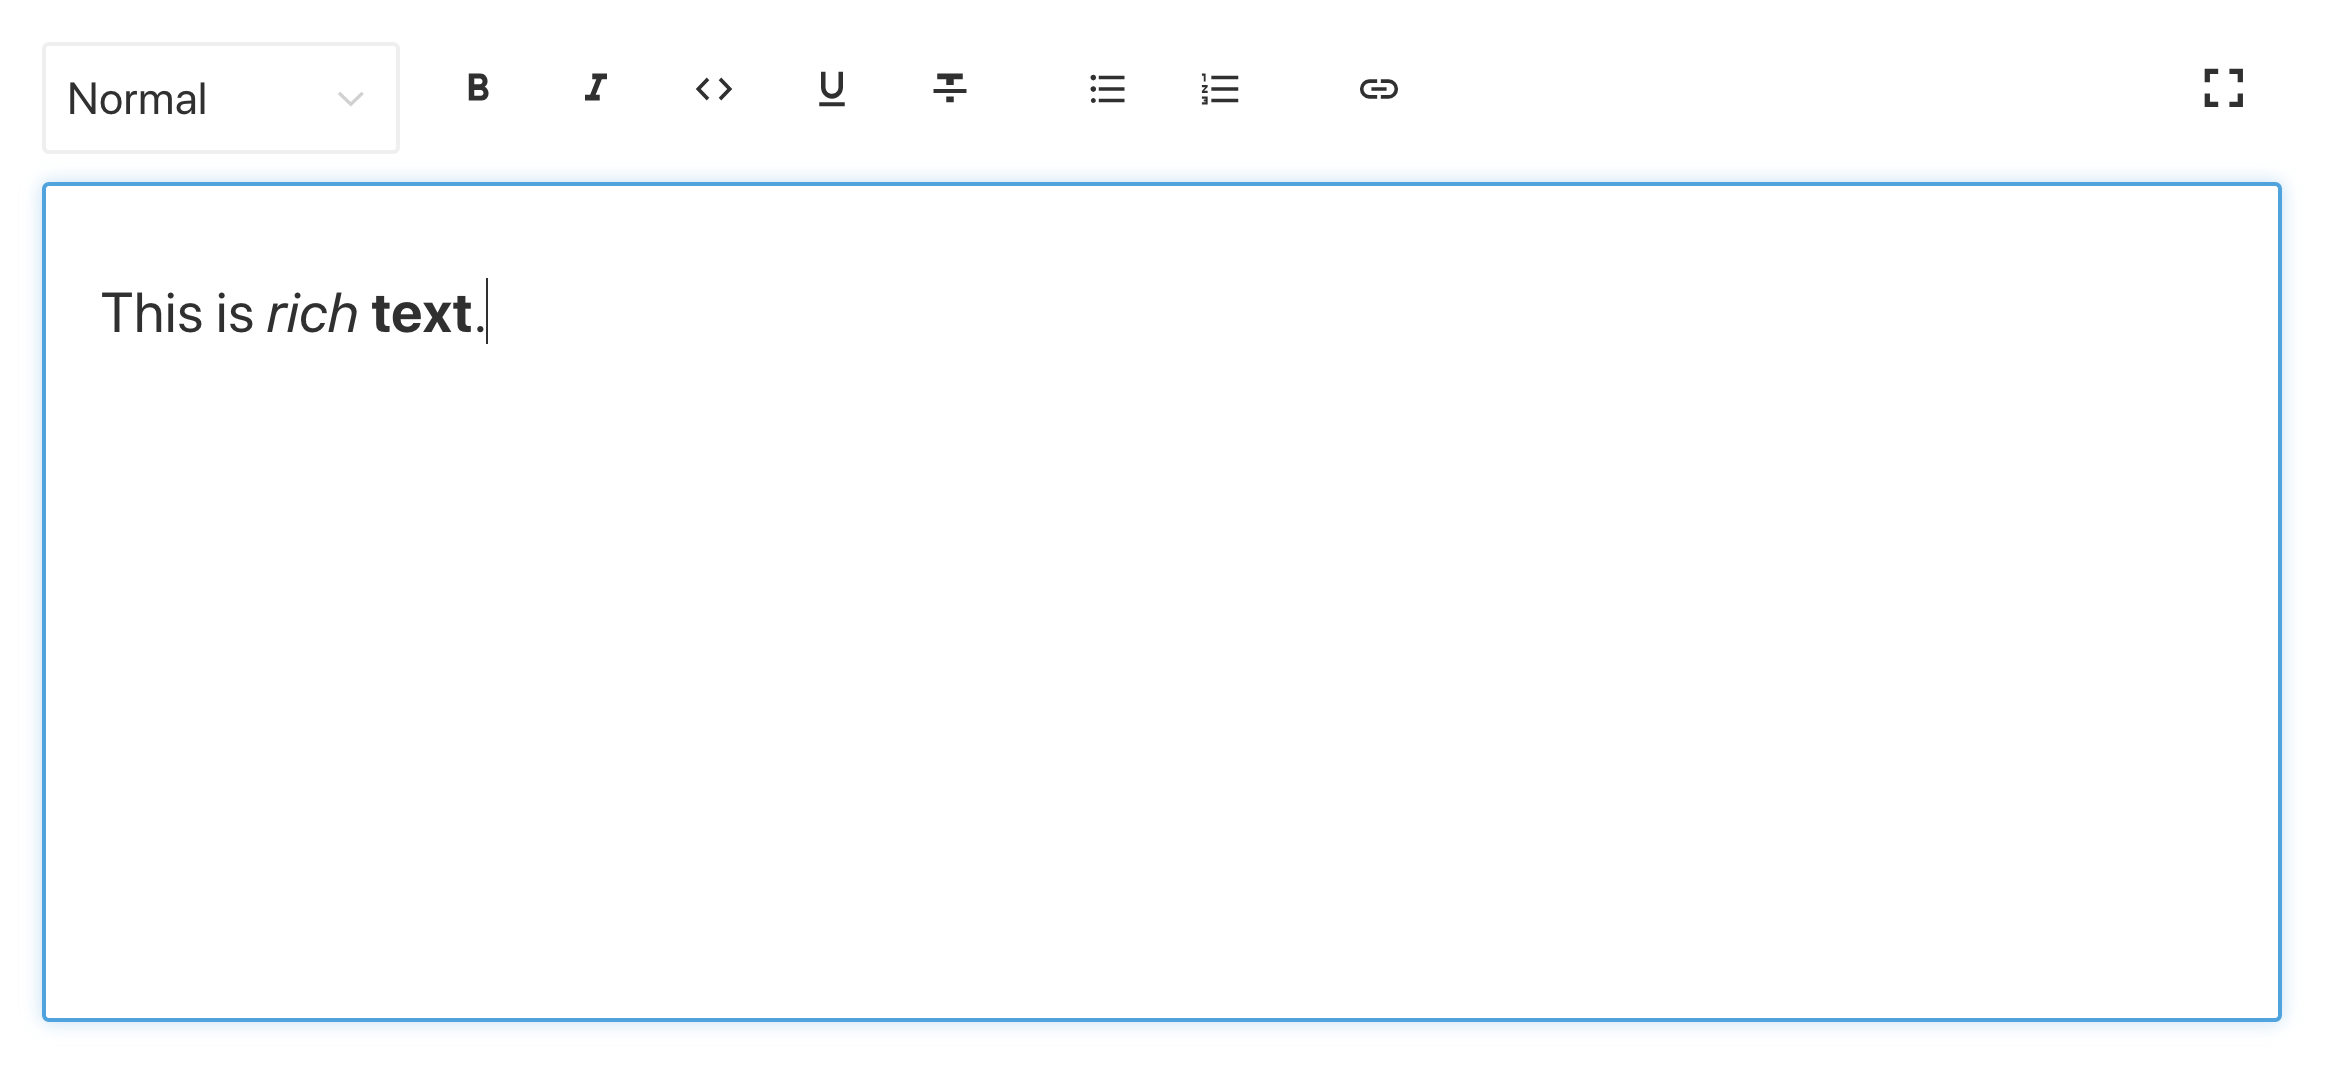
By default, the block type will give you a standard editor for visually oriented rich text with heading styles, decorator styles for emphasis and strong, annotations for links, and lists. Now we want to override those with the audial concepts found in SSML.
We begin with defining the different content structures, with helpful descriptions for the editors, that we will add to the block in SSMLeditorSchema.js as configurations for annotations. Those are “emphasis”, “alias”, “prosody”, and “say as”.
Emphasis
We begin with “emphasis”, which controls how much weight is put on the marked text. We define it as a string with a list of predefined values that the user can choose from:
// emphasis.js
export default {
  name: 'emphasis',
  type: 'object',
  title: 'Emphasis',
  description:
    'The strength of the emphasis put on the contained text',
  fields: [
    {
      name: 'level',
      type: 'string',
      options: {
        list: [
          { value: 'strong', title: 'Strong' },
          { value: 'moderate', title: 'Moderate' },
          { value: 'none', title: 'None' },
          { value: 'reduced', title: 'Reduced' }
        ]
      }
    }
  ]
}
Alias
Sometimes the written and the spoken term differ. For instance, you want to use the abbreviation of a phrase in a written text, but have the whole phrase read aloud. For example:
<s>This is a <sub alias="Speech Synthesis Markup Language">SSML</sub> tutorial</s>
The input field for the alias is a simple string:
// alias.js
export default {
  name: 'alias',
  type: 'object',
  title: 'Alias (sub)',
  description:
    'Replaces the contained text for pronunciation. This allows a document to contain both a spoken and written form.',
  fields: [
    {
      name: 'text',
      type: 'string',
      title: 'Replacement text',
    }
  ]
}
Prosody
With the prosody property we can control different aspects how text should be spoken, like pitch, rate, and volume. The markup for this can look like this:
<s>Say this with an <prosody pitch="x-low">extra low pitch</prosody>, and this <prosody rate="fast" volume="loud">loudly with a fast rate</prosody></s>
This input will have three fields with predefined string options:
// prosody.js
export default {
  name: 'prosody',
  type: 'object',
  title: 'Prosody',
  description: 'Control of the pitch, speaking rate, and volume',
  fields: [
    {
      name: 'pitch',
      type: 'string',
      title: 'Pitch',
      description: 'The baseline pitch for the contained text',
      options: {
        list: [
          { value: 'x-low', title: 'Extra low' },
          { value: 'low', title: 'Low' },
          { value: 'medium', title: 'Medium' },
          { value: 'high', title: 'High' },
          { value: 'x-high', title: 'Extra high' },
          { value: 'default', title: 'Default' }
        ]
      }
    },
    {
      name: 'rate',
      type: 'string',
      title: 'Rate',
      description:
        'A change in the speaking rate for the contained text',
      options: {
        list: [
          { value: 'x-slow', title: 'Extra slow' },
          { value: 'slow', title: 'Slow' },
          { value: 'medium', title: 'Medium' },
          { value: 'fast', title: 'Fast' },
          { value: 'x-fast', title: 'Extra fast' },
          { value: 'default', title: 'Default' }
        ]
      }
    },
    {
      name: 'volume',
      type: 'string',
      title: 'Volume',
      description: 'The volume for the contained text.',
      options: {
        list: [
          { value: 'silent', title: 'Silent' },
          { value: 'x-soft', title: 'Extra soft' },
          { value: 'medium', title: 'Medium' },
          { value: 'loud', title: 'Loud' },
          { value: 'x-loud', title: 'Extra loud' },
          { value: 'default', title: 'Default' }
        ]
      }
    }
  ]
}
Say As
The last one we want to include is <say-as>. This tag lets us exercise a bit more control over how certain information is pronounced. We can even use it to bleep out words if you need to redact something in voice interfaces. That’s @!%&© useful!
<s>Do I have to <say-as interpret-as="expletive">frakking</say-as> <say-as interpret-as="verbatim">spell</say-as> it out for you!?</s>
// sayAs.js
export default {
  name: 'sayAs',
  type: 'object',
  title: 'Say as...',
  description: 'Lets you indicate information about the type of text construct that is contained within the element. It also helps specify the level of detail for rendering
  the contained text.',
  fields: [
    {
      name: 'interpretAs',
      type: 'string',
      title: 'Interpret as...',
      options: {
        list: [
          { value: 'cardinal', title: 'Cardinal numbers' },
          {
            value: 'ordinal',
            title: 'Ordinal numbers (1st, 2nd, 3th...)'
          },
          { value: 'characters', title: 'Spell out characters' },
          { value: 'fraction', title: 'Say numbers as fractions' },
          { value: 'expletive', title: 'Blip out this word' },
          {
            value: 'unit',
            title: 'Adapt unit to singular or plural'
          },
          {
            value: 'verbatim',
            title: 'Spell out letter by letter (verbatim)'
          },
          { value: 'date', title: 'Say as a date' },
          { value: 'telephone', title: 'Say as a telephone number' }
        ]
      }
    },
    {
      name: 'date',
      type: 'object',
      title: 'Date',
      fields: [
        {
          name: 'format',
          type: 'string',
          description: 'The format attribute is a sequence of date field character codes. Supported field character codes in format are {y, m, d} for year, month, and day (of the month) respectively. If the field code appears once for year, month, or day then the number of digits expected are 4, 2, and 2 respectively. If the field code is repeated then the number of expected digits is the number of times the code is repeated. Fields in the date text may be separated by punctuation and/or spaces.'
        },
        {
          name: 'detail',
          type: 'number',
          validation: Rule =>
            Rule.required()
              .min(0)
              .max(2),
          description: 'The detail attribute controls the spoken form of the date. For detail='1' only the day fields and one of month or year fields are required, although both may be supplied'
        }
      ]
    }
  ]
}
Now we can import these in an annotations.js file, which makes things a bit tidier.
// annotations.js
export {default as alias} from './alias'
export {default as emphasis} from './emphasis'
export {default as prosody} from './prosody'
export {default as sayAs} from './sayAs'
Now we can import these annotation types into our main schemas:
// schema.js
import createSchema from "part:@sanity/base/schema-creator"
import schemaTypes from "all:part:@sanity/base/schema-type"
import fulfillment from './fulfillment'
import speech from './ssml-editor/speech'
import {
  alias,
  emphasis,
  prosody,
  sayAs
} from './annotations'

export default createSchema({
  name: "default",
  types: schemaTypes.concat([
    fulfillment,
    speech,
    alias,
    emphasis,
    prosody,
    sayAs
  ])
})
Finally, we can now add these to the editor like this:
// speech.js
export default {
  name: 'speech',
  type: 'array',
  title: 'SSML Editor',
  of: [
    {
      type: 'block',
      styles: [],
      lists: [],
      marks: {
        decorators: [],
        annotations: [
          {type: 'alias'},
          {type: 'emphasis'},
          {type: 'prosody'},
          {type: 'sayAs'}
        ]
      }
    }
  ]
}
Notice that we also added empty arrays to styles, and decorators. This disables the default styles and decorators (like bold and emphasis) since they don’t make that much sense in this specific case.
Customizing The Look And Feel
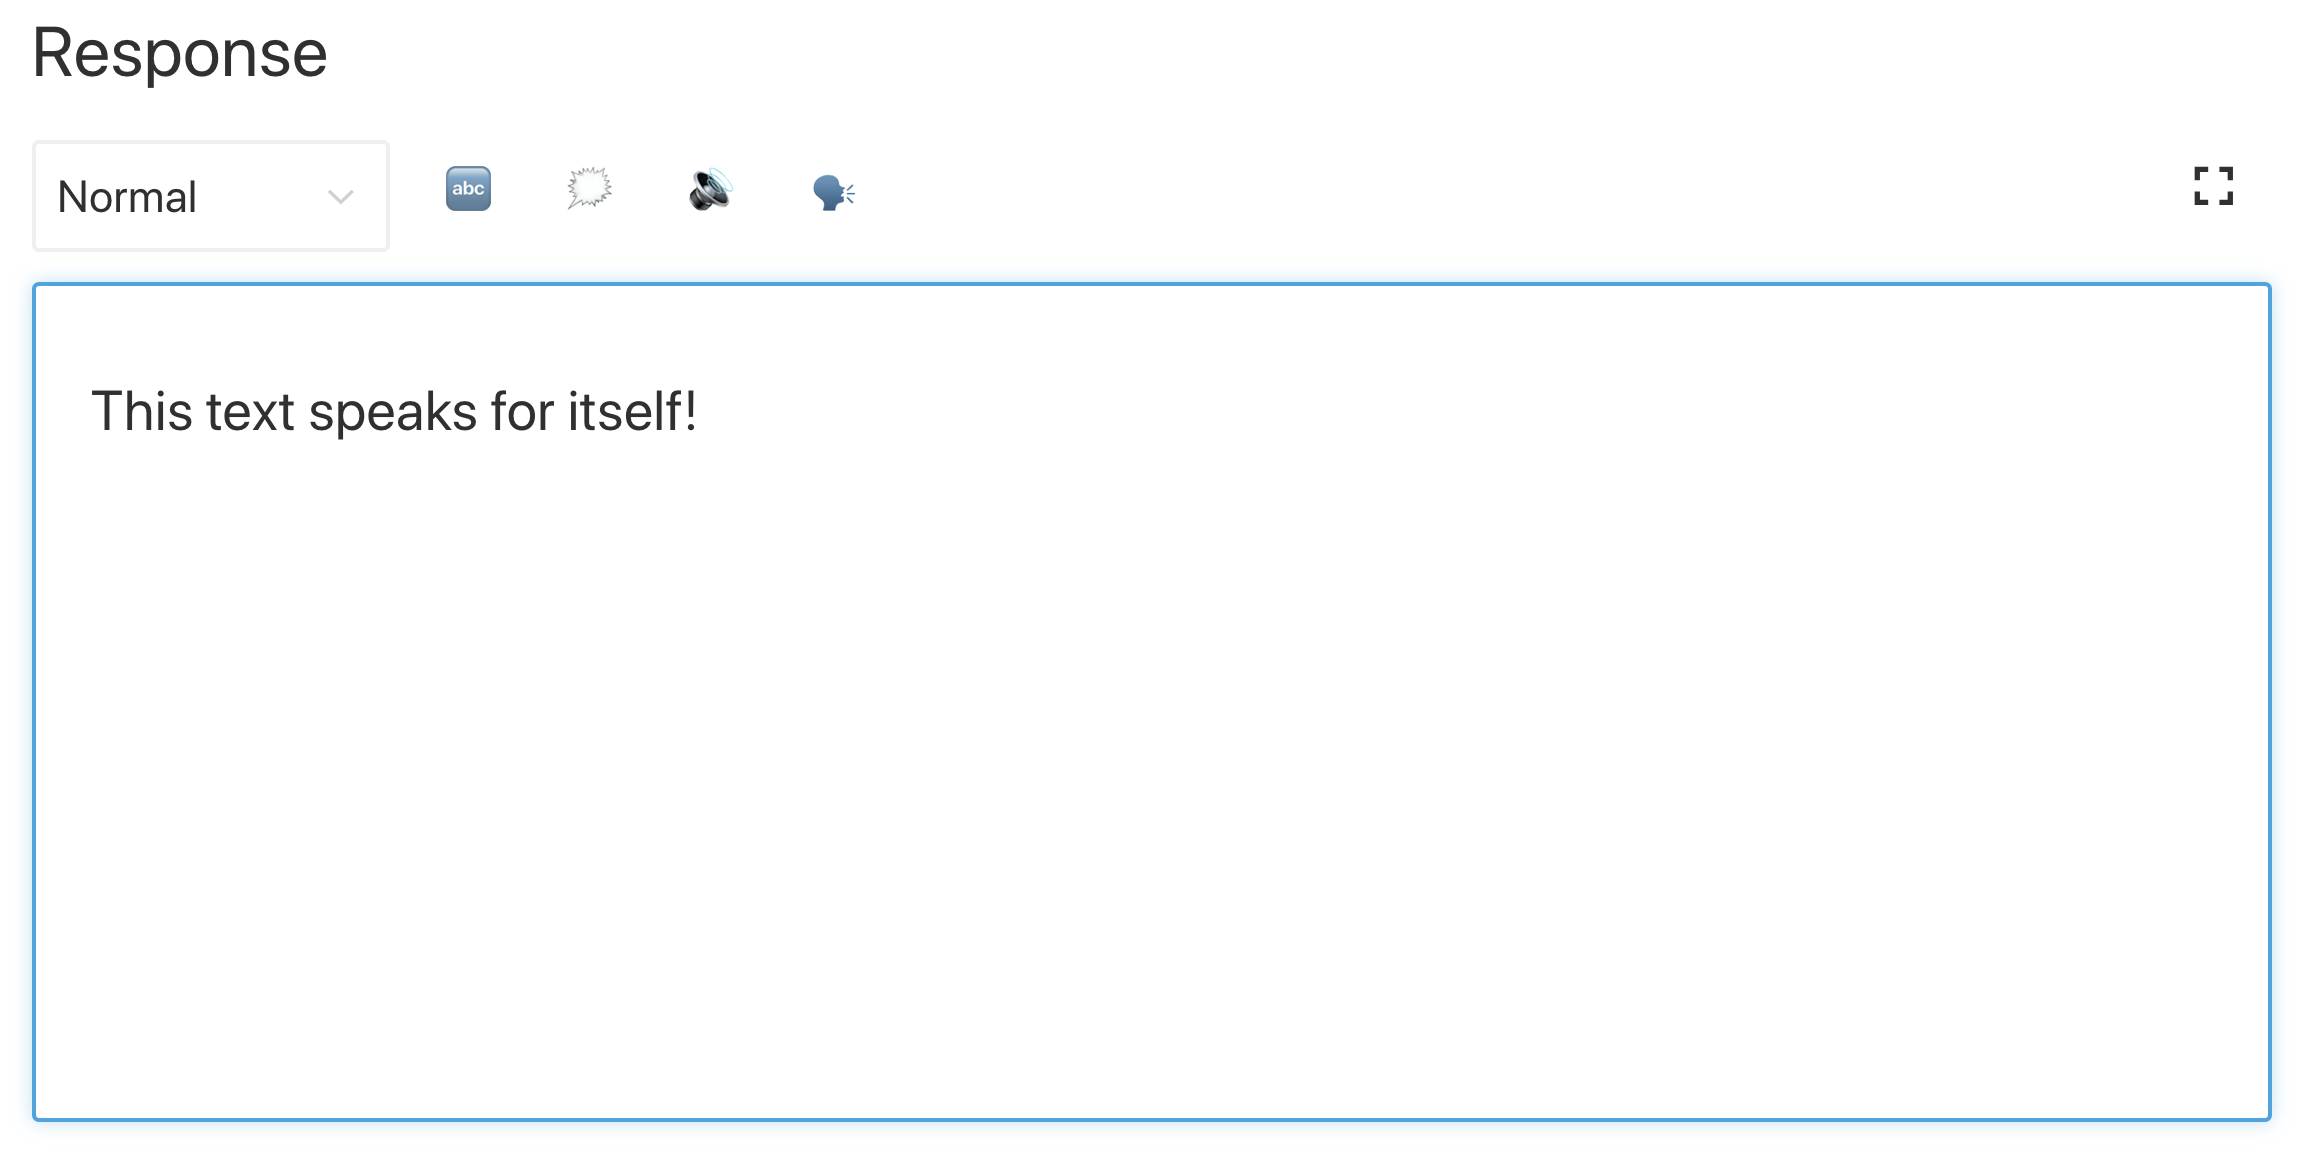
Now we have the functionality in place, but since we haven’t specified any icons, each annotation will use the default icon, which makes the editor hard to actually use for authors. So let’s fix that!
With the editor for Portable Text it’s possible to inject React components both for the icons and for how the marked text should be rendered. Here, we’ll just let some emoji do the work for us, but you could obviously go far with this, making them dynamic and so on. For prosody we’ll even make the icon change depending on the volume selected. Note that I omitted the fields in these snippets for brevity, you shouldn’t remove them in your local files.
// alias.js
import React from 'react'

export default {
  name: 'alias',
  type: 'object',
  title: 'Alias (sub)',
  description: 'Replaces the contained text for pronunciation. This allows a document to contain both a spoken and written form.',
  fields: [
    /* all the fields */
  ],
  blockEditor: {
    icon: () => '🔤',
    render: ({ children }) => <span>{children} 🔤</span>,
  },
};
// emphasis.js
import React from 'react'

export default {
  name: 'emphasis',
  type: 'object',
  title: 'Emphasis',
  description: 'The strength of the emphasis put on the contained text',
  fields: [
    /* all the fields */
  ],
  blockEditor: {
    icon: () => '🗯',
    render: ({ children }) => <span>{children} 🗯</span>,
  },
};
// prosody.js
import React from 'react'

export default {
  name: 'prosody',
  type: 'object',
  title: 'Prosody',
  description: 'Control of the pitch, speaking rate, and volume',
  fields: [
    /* all the fields */
  ],
  blockEditor: {
    icon: () => '🔊',
    render: ({ children, volume }) => (
      <span>
        {children} {['x-loud', 'loud'].includes(volume) ? '🔊' : '🔈'}
      </span>
    ),
  },
};
// sayAs.js
import React from 'react'

export default {
  name: 'sayAs',
  type: 'object',
  title: 'Say as...',
  description: 'Lets you indicate information about the type of text construct that is contained within the element. It also helps specify the level of detail for rendering the contained text.',
  fields: [
    /* all the fields */
  ],
  blockEditor: {
    icon: () => '🗣',
    render: props => <span>{props.children} 🗣</span>,
  },
};
Now you have an editor for editing text that can be used by voice assistants. But wouldn’t it be kinda useful if editors also could preview how the text actually will sound like?
Adding A Preview Button Using Google’s Text-to-Speech
Native speech synthesis support is actually on its way for browsers. But in this tutorial, we’ll use Google’s Text-to-Speech API which supports SSML. Building this preview functionality will also be a demonstration of how you serialize Portable Text into SSML in whatever service you want to use this for.
Wrapping The Editor In A React Component
We begin with opening the SSMLeditor.js file and add the following code:
// SSMLeditor.js
import React, { Fragment } from 'react';
import { BlockEditor } from 'part:@sanity/form-builder';

export default function SSMLeditor(props) {
  return (
    <Fragment>
      <BlockEditor {...props} />
    </Fragment>
  );
}
We have now wrapped the editor in our own React component. All the props it needs, including the data it contains, are passed down in real-time. To actually use this component, you have to import it into your speech.js file:
// speech.js
import React from 'react'
import SSMLeditor from './SSMLeditor.js'

export default {
  name: 'speech',
  type: 'array',
  title: 'SSML Editor',
  inputComponent: SSMLeditor,
  of: [
    {
      type: 'block',
      styles: [],
      lists: [],
      marks: {
        decorators: [],
        annotations: [
          { type: 'alias' },
          { type: 'emphasis' },
          { type: 'prosody' },
          { type: 'sayAs' },
        ],
      },
    },
  ],
}
When you save this and the studio reloads, it should look pretty much exactly the same, but that’s because we haven’t started tweaking the editor yet.
Convert Portable Text To SSML
The editor will save the content as Portable Text, an array of objects in JSON that makes it easy to convert rich text into whatever format you need it to be. When you convert Portable Text into another syntax or format, we call that “serialization”. Hence, “serializers” are the recipes for how the rich text should be converted. In this section, we will add serializers for speech synthesis.
You have already made the blocksToSSML.js file. Now we’ll need to add our first dependency. Begin by running the terminal command npm init -y inside the ssml-editor folder. This will add a package.json where the editor’s dependencies will be listed.
Once that’s done, you can run npm install @sanity/block-content-to-html to get a library that makes it easier to serialize Portable Text. We’re using the HTML-library because SSML has the same XML syntax with tags and attributes.
This is a bunch of code, so do feel free to copy-paste it. I’ll explain the pattern right below the snippet:
// blocksToSSML.js
import blocksToHTML, { h } from '@sanity/block-content-to-html'

const serializers = {
  marks: {
    prosody: ({ children, mark: { rate, pitch, volume } }) =>
      h('prosody', { attrs: { rate, pitch, volume } }, children),
    alias: ({ children, mark: { text } }) =>
      h('sub', { attrs: { alias: text } }, children),
    sayAs: ({ children, mark: { interpretAs } }) =>
      h('say-as', { attrs: { 'interpret-as': interpretAs } }, children),
    break: ({ children, mark: { time, strength } }) =>
      h('break', { attrs: { time: '${time}ms', strength } }, children),
    emphasis: ({ children, mark: { level } }) =>
      h('emphasis', { attrs: { level } }, children)
  }
}

export const blocksToSSML = blocks => blocksToHTML({ blocks, serializers })
This code will export a function that takes the array of blocks and loop through them. Whenever a block contains a mark, it will look for a serializer for the type. If you have marked some text to have emphasis, it this function from the serializers object:
emphasis: ({ children, mark: { level } }) =>
      h('emphasis', { attrs: { level } }, children)
Maybe you recognize the parameter from where we defined the schema? The h() function lets us defined an HTML element, that is, here we “cheat” and makes it return an SSML element called <emphasis>. We also give it the attribute level if that is defined, and place the children elements within it — which in most cases will be the text you have marked up with emphasis.
{
    "_type": "block",
    "_key": "f2c4cf1ab4e0",
    "style": "normal",
    "markDefs": [
        {
            "_type": "emphasis",
            "_key": "99b28ed3fa58",
            "level": "strong"
        }
    ],
    "children": [
        {
            "_type": "span",
            "_key": "f2c4cf1ab4e01",
            "text": "Say this strongly!",
            "marks": [
                "99b28ed3fa58"
            ]
        }
    ]
}
That is how the above structure in Portable Text gets serialized to this SSML:
<emphasis level="strong">Say this strongly</emphasis>
If you want support for more SSML tags, you can add more annotations in the schema, and add the annotation types to the marks section in the serializers.
Now we have a function that returns SSML markup from our marked up rich text. The last part is to make a button that lets us send this markup to a text-to-speech service.
Adding A Preview Button That Speaks Back To You
Ideally, we should have used the browser’s speech synthesis capabilities in the Web API. That way, we would have gotten away with less code and dependencies.
As of early 2019, however, native browser support for speech synthesis is still in its early stages. It looks like support for SSML is on the way, and there is proof of concepts of client-side JavaScript implementations for it.
Chances are that you are going to use this content with a voice assistant anyways. Both Google Assistant and Amazon Echo (Alexa) support SSML as responses in a fulfillment. In this tutorial, we will use Google’s text-to-speech API, which also sounds good and support several languages.
Start by obtaining an API key by signing up for Google Cloud Platform (it will be free for the first 1 million characters you process). Once you’re signed up, you can make a new API key on this page.
Now you can open your PreviewButton.js file, and add this code to it:
// PreviewButton.js
import React from 'react'
import Button from 'part:@sanity/components/buttons/default'
import { blocksToSSML } from './blocksToSSML'

// You should be careful with sharing this key
// I put it here to keep the code simple
const API_KEY = '<yourAPIkey>'
const GOOGLE_TEXT_TO_SPEECH_URL = 'https://texttospeech.googleapis.com/v1beta1/text:synthesize?key=' + API_KEY

const speak = async blocks => {
  // Serialize blocks to SSML
  const ssml = blocksToSSML(blocks)
  // Prepare the Google Text-to-Speech configuration
  const body = JSON.stringify({
    input: { ssml },
    // Select the language code and voice name (A-F)
    voice: { languageCode: 'en-US', name: 'en-US-Wavenet-A' },
    // Use MP3 in order to play in browser
    audioConfig: { audioEncoding: 'MP3' }
  })
  // Send the SSML string to the API
  const res = await fetch(GOOGLE_TEXT_TO_SPEECH_URL, {
    method: 'POST',
    body
  }).then(res => res.json())
  // Play the returned audio with the Browser’s Audo API
  const audio = new Audio('data:audio/wav;base64,' + res.audioContent)
  audio.play()
}

export default function PreviewButton (props) {
  return <Button style={{ marginTop: '1em' }} onClick={() => speak(props.blocks)}>Speak text</Button>
}
I’ve kept this preview button code to a minimal to make it easier to follow this tutorial. Of course, you could build it out by adding state to show if the preview is processing or make it possible to preview with the different voices that Google’s API supports.
Add the button to SSMLeditor.js:
// SSMLeditor.js
import React, { Fragment } from 'react';
import { BlockEditor } from 'part:@sanity/form-builder';
import PreviewButton from './PreviewButton';

export default function SSMLeditor(props) {
  return (
    <Fragment>
      <BlockEditor {...props} />
      <PreviewButton blocks={props.value} />
    </Fragment>
  );
}
Now you should be able to mark up your text with the different annotations, and hear the result when pushing “Speak text”. Cool, isn’t it?
You’ve Created A Speech Synthesis Editor, And Now What?
If you have followed this tutorial, you have been through how you can use the editor for Portable Text in Sanity Studio to make custom annotations and customize the editor. You can use these skills for all sorts of things, not only to make a speech synthesis editor. You have also been through how to serialize Portable Text into the syntax you need. Obviously, this is also handy if you’re building frontends in React or Vue. You can even use these skills to generate Markdown from Portable Text.
We haven’t covered how you actually use this together with a voice assistant. If you want to try, you can use much of the same logic as with the preview button in a serverless function, and set it as the API endpoint for a fulfillment using webhooks, e.g. with Dialogflow.
If you’d like me to write a tutorial on how to use the speech synthesis editor with a voice assistant, feel free to give me a hint on Twitter or share in the comments section below.
Further Reading on SmashingMag:
- Experimenting With speechSynthesis
- Enhancing User Experience With The Web Speech API
- Accessibility APIs: A Key To Web Accessibility
- Building A Simple AI Chatbot With Web Speech API And Node.js


