


Bun and HTMX are two of the most interesting things happening in software right now. Bun is an incredibly fast, all-in-one server-side JavaScript platform, and HTMX is an HTML extension used to create simple, powerful interfaces. In this article, we'll use these two great tools together to develop a full-stack application that uses MongoDB for data storage and Elysia as its HTTP server.
The tech stack
Our focus in this article is how the four main components of our tech stack interact. The components are Bun, HTMX, Elysia, and MongoDB. This stack gives you a fast-moving setup that is easy to configure and agile to change.
- Bun is a JavaScript runtime, bundler, package manager, and test runner.
- Elysia is a high-performance HTTP server that is similar to Express but built for Bun.
- HTMX offers a novel approach to adding fine-grained interactivity to HTML.
- MongoDB is the flagship NoSQL document-oriented datastore.
Note that this article has two parts. In the second half, we will incorporate Pug, the HTMX templating engine, which we'll use to develop a few fancy front-end interactions.
Installation and set up
You’ll need to install Bun.js, which is easy to do. We’re also going to run MongoDB as a service alongside Bun on our development machine. You can read about installing and setting up MongoDB here. Once you have these packages installed, both the bun -v and mongod -version commands should work from the command line.
Next, let's begin a new project:
$ bun create elysia iw-beh
This tells bun to create a new project using the Elysia template. A template in Bun is a convenient way to jumpstart projects using the create command. Bun can work like Node, without any configuration, but the config is nice to have. (Learn more about Bun templates here.)
Now, move into the new directory: $ cd iw-beh.
And run the project as it is: $ bun run src/index.js.
This last command tells bun to run the src/index.js file. The src/index.js file is the code to start a simple Elysia server:
import { Elysia } from "elysia";

const app = new Elysia()
  .get("/", () => "Hello Elysia")
  .listen(3000);

console.log(
  `🦊 Elysia is running at ${app.server?.hostname}:${app.server?.port}`
);
In this file, we import Elysia and use it to instantiate a new server that listens on port 3000 and has a single GET endpoint at the root. This endpoint returns a text string: “Hello Elysia.” How all this works is similar in spirit to Express.
If you visit localhost:3000 you’ll get a simple greeting:
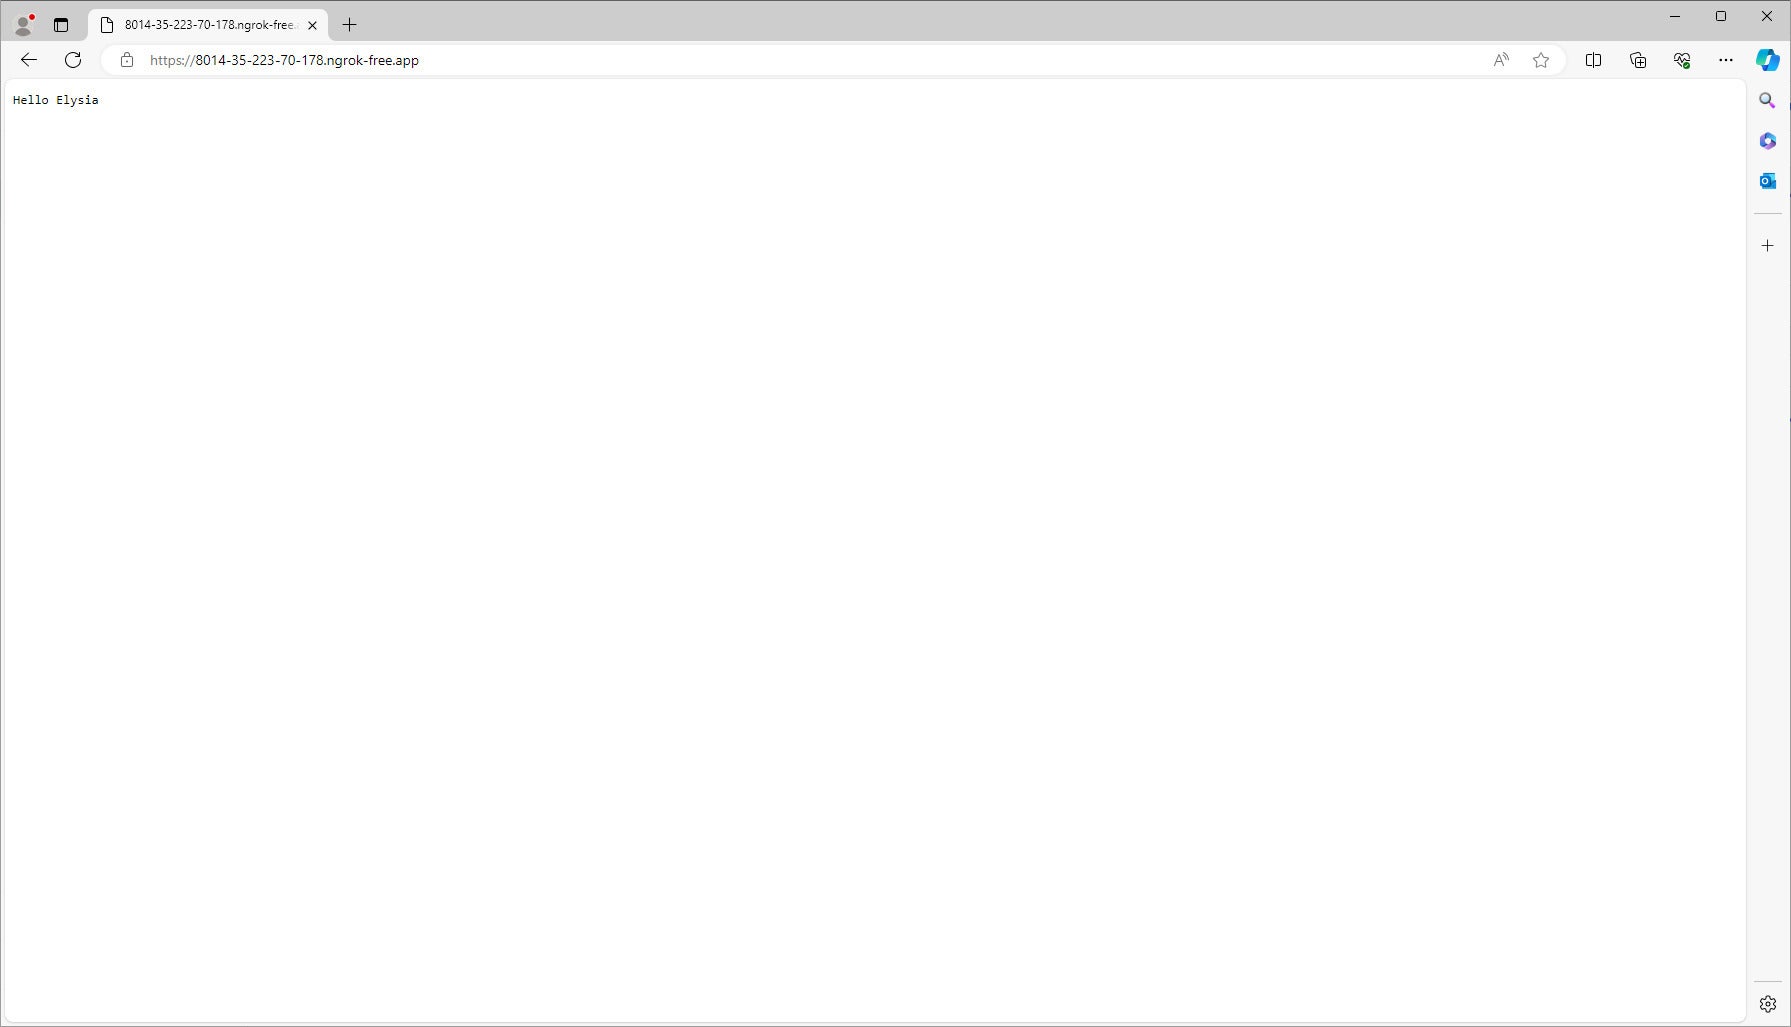 IDG
IDGNow that we have Elysia running, let’s add the static plugin. Elysia has several plugins for handling common scenarios. In this case, we want to serve some HTML from disk. The static plugin is just what we need:
$ bun add @elysiajs/static
Now the Elysia server running the static plugin should serve everything in the iw-beh/public directory. If we drop a simple HTML file in there and visit localhost:3000/ public, we’ll see its contents.
The magic of HTMX
Next, let’s add an HTMX page to index.html. Here’s a simple one from the HTMX homepage:
<script src="https://unpkg.com/htmx.org@1.9.10"></script>

<button hx-post="/clicked"
    hx-trigger="click"
    hx-target="#parent-div"
    hx-swap="outerHTML">
    Click Me!
</button>
This page displays a button. When clicked, the button makes a call to the server for the /clicked endpoint, and the button is replaced with whatever is in the response. There's nothing there yet, so it currently doesn’t do anything.
But notice that all this is still HTML. We are making an API call and performing a fine-grained DOM change without any JavaScript. (The work is being done by the JavaScript in the htmx.org library we just imported, but the point is we don't have to worry about it.)
HTMX provides an HTML syntax that does these things using just three element attributes:
hx-postsubmits a post when it is triggered for an AJAX request.hx-targettellshx-postwhich events execute an AJAX request.hx-swapsays what to do when an AJAX event occurs. In this case, replace the present element with the response.
That’s pretty simple!
Elysia and MongoDB
Now let’s make an endpoint in Elysia that will write something to MongoDB. First, we'll add the MongoDB driver for Bun:
bun add mongodb
Next, modify src.index.ts like this:
import { Elysia } from "elysia";
import { staticPlugin } from '@elysiajs/static';
const { MongoClient } = require('mongodb');

const app = new Elysia()
  .get("/", () => "Hello Elysia")
  .get("/db", async () => {

    const url = "mongodb://127.0.0.1:27017/quote?directConnection=true&serverSelectionTimeoutMS=2000&appName=mongosh+1.8.0";

    const client = new MongoClient(url, { useUnifiedTopology: true });
try {

    await client.connect();

    const database = client.db('quote');
    const collection = database.collection('quotes');

    const stringData = "Thought is the grandchild of ignorance.";

    const result = await collection.insertOne({"quote":stringData});
    console.log(`String inserted with ID: ${result.insertedId}`);

  } catch (error) {
    console.error(error);
  } finally {
    await client.close();
  }
          return "OK";
  })
  .use(staticPlugin())
  .listen(3000);

console.log(
  `🦊 Elysia is running at ${app.server?.hostname}:${app.server?.port}`
);
In this code, we've added a /db endpoint that talks to MongoDB. Right now, it just writes a quote to the quote database, inside the quotes collection. You can test this directly by going to localhost:3000/db. Then, you can verify the data is in MongoDB:
$ mongosh

test> use quote
switched to db quote
quote> db.quotes.find()
[
  {
    _id: ObjectId("65ba936fd59e9c265cc8c092"),
    quote: 'Thought is the grandchild of ignorance.',
    author: 'Swami Venkatesananda'
  }
]
Create an HTMX table
Now that we are connecting to the database from the front end, let’s create a table to output the existing quotes. As a quick test, we'll add an endpoint to the server:
.get("/quotes", async () => {
    const data = [
      { name: 'Alice' },
      { name: 'Bob' },
    ];
    // Build the HTML list structure
  let html = '<ul>';
  for (const item of data) {
    html += `<li>${item.name}</li>`;
  }
  html += '</ul>';

    return html
  })
And then use it in our index.html:
<ul id="data-list"></ul>
<button hx-get="/quotes" hx-target="#data-list">Load Data</button>
Now, when you load /public/index.html and click the button, the list sent from the server is displayed. Notice that issuing HTML from the endpoint is different from the common JSON pattern. That is by design. We are conforming to RESTful principles here. HTMX has plugins for working with JSON endpoints, but this is more idiomatic.
In our endpoint, we are just manually creating the HTML. In a real application, we’d probably use some kind of JavaScript-HTML templating framework to make things more manageable.
Now, we can retrieve the data from the database:
.get("/quotes", async () => {

const url = "mongodb://127.0.0.1:27017/quote?directConnection=true&serverSelectionTimeoutMS=2000&appName=mongosh+1.8.0";

      const client = new MongoClient(url, { useUnifiedTopology: true });
    try {
      await client.connect();

      const database = client.db('quote');
      const collection = database.collection('quotes');

      const quotes = await collection.find().toArray();

      // Build the HTML table structure
      let html = '<table border="1">';
      html += '<tr><th>Quote</th><th>Author</th></tr>';
      for (const quote of quotes) {
        html += `<tr><td>${quote.quote}</td><td>${quote.author}</td></tr>`;
      }
      html += '</table>';

      return html;
    } catch (error) {
      console.error(error);
      return "Error fetching quotes";
    } finally {
      await client.close();
    }

  })
In this endpoint, we retrieve all the existing quotes in the database and return them as a simple HTML table. (Note that in a real application, we’d extract the database connection work to a central place.)
You’ll see something like this:
 IDG
IDGThis screenshot shows the one row we inserted when we hit the /db endpoint earlier.
Now, let’s add the ability to create a new quote. Here's the back-end code (src/index.ts):
app.post("/add-quote", async (req) => {
    const url = "mongodb://127.0.0.1:27017/quote?directConnection=true&serverSelectionTimeoutMS=2000&appName=mongosh+1.8.0";

    try {
        const client = new MongoClient(url, { useUnifiedTopology: true });
        await client.connect();

        const database = client.db('quote');
        const collection = database.collection('quotes');

        const quote = req.body.quote;
        const author = req.body.author;

        await collection.insertOne({ quote, author });

        return "Quote added successfully";
    } catch (error) {
        console.error(error);
        return "Error adding quote";
    } finally {
        await client.close();
    }
})
And here is the front end (public/index.html):
<form hx-post="/add-quote">
    <input type="text" name="quote" placeholder="Enter quote">
    <input type="text" name="author" placeholder="Enter author">
<button type="submit">Add Quote</button>
When you enter an author and quote, and hit Add Quote it’ll be added to the database. If you click Load Data, you will see your update in the list. It should look something like this:
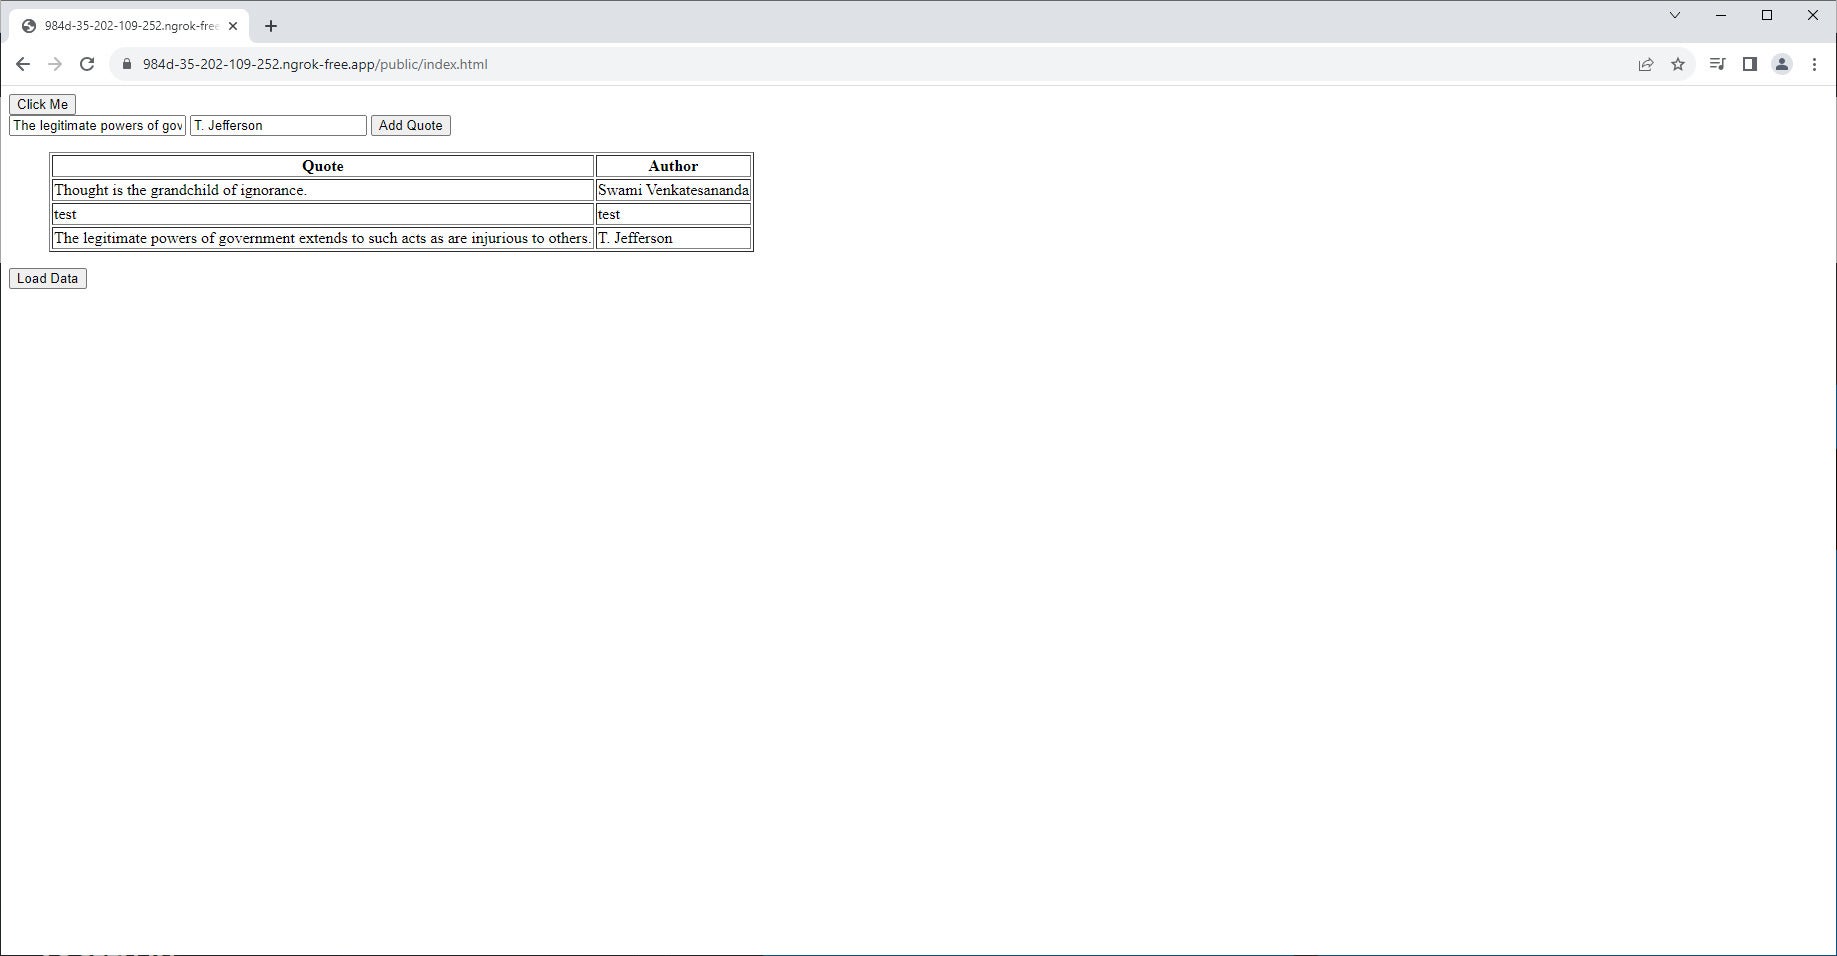 IDG
IDGIf you look at both the server and client for the application so far, you can see that we're doing a bare minimum of work. The biggest thing HTMX has streamlined here is submitting the form. The hx-post attribute replaces all the work of taking the data off the form, marshaling it into JSON, and submitting it with fetch() or something similar.
Conclusion
As things become more complex, you begin having to rely on JavaScript in the client, even with HTMX. For example, inline row editing. Some things that you might expect to use JavaScript for, like inserting the new rows directly into the table, can be done with HTMX swapping. HTMX lets you do a lot with its simple syntax and then fall back to JavaScript when necessary.
The biggest mental change is in generating HTMX from the server. You have your choice of several high-end HTML or JavaScript templating engines to make this much easier. Once you are used to working with HTMX, it’s a breeze. Essentially, you’ve eliminated the whole layer of JSON conversion from the stack.
We’ve just taken the quickest run through combining bun, Elysia, HTMX, and MongoDB, but you should at least have a feel for this stack. The components work well together without any unnecessary friction. Bun, Elysia, and MongoDB quietly do their jobs, while HTMX takes a little more thought if you are more accustomed to JSON APIs. Find the code for this article on my GitHub repository. We'll work more with this example in the next article, where we'll use Pug to add some fancy interactions into the mix.